I'm so excited... my wonderful boys got me a Cricut Expression for Christmas! I have been playing with it and trying out all of it's amazing features. I had been wanting one to make stencils with, but am finding out it does so much more.
I took the doors off the closet in the studio and added a shelf just for the Cricut. My first project was the "dream" swag below.
It was super easy to make and I can't wait to do some more using different inspirational words. These would be so cute in a little girls room, nursery, or hung from the mantel at Christmas.
I have included a tutorial below if you would like to make one for yourself. This is my first tutorial, so if anything is unclear, please let me know so I can help.
You will need:
8.5 x 11 cardstock for the pendants (each sheet makes two)
12x12 decorative paper for rosettes (each sheet makes two)
12x12 contrasting decorative paper for centers
cardboard or other cutout letters ( I cut mine from cardstock with the Cricut)
glue
small clothespins
glitter or other embelishments
hole punch
ribbon or twine
You will need to adjust the quantities of paper etc. depending on how many letters are in your word.
Start with how ever many sheets of 8.5 x 11 cardstock you will need for your pendant backs (one sheet makes two) Cut in half so you have two 5.5 x 8.5 pieces as shown, mark the bottom center point of each half. Measure down 3" from top on each side of each half and draw a line to your mark at bottom and cut.
Cut 12 x 12 sheets in half and fold short ends accordian style as shown. Make one for each pendant or letter
Staple once in the middle to secure
Glue along the two long, outer edges of each folded paper
( I used way too much glue here)
Form into circles and clothespin together until dry
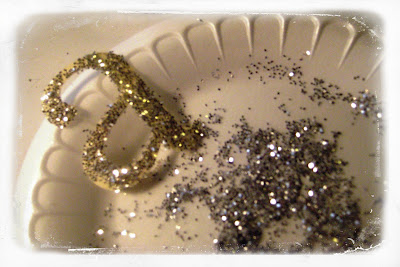
Apply glue to back of letters and glitter or embellish to your liking
Cut circles out of contrasting decorative paper with pinking shears or other scissors with a pretty cutting edge. Glue letters on to circles.
Spray glitter front of pendant backs and punch a hole near top corners
Put a nickle sized blob of clear caulking or thick glue on the back of your rosettes and attach to pendants
Repeat with caulking on front of rosettes
Glue circles with letters on rosettes. String ribbon or twine
through holes from front to back.
Hang and enjoy!
I am linking this to White Wednesday at
thanks for stopping by,
~ShawNa~


4 comments:
I love this banner! So pretty! I got a Cricut too! I was playing with mine last night and did some glass etching. love it!! Love this machine!!
very pretty, have fun with your new toy!
Amy
oh, what a fabulous gift!!!
The banner is beautiful!!! Thanks for the step by step...you've made it look so easy! I am going to have to check this machine out!
Post a Comment